Showing posts with label Halloween. Show all posts

Wednesday, October 12, 2011

Pumpkin Dress

So yesterday we staked our claim as a low volume blog.  And then today we've got another post up.  This is because it is time sensitive.  It's Halloween adorableness and we wanted to get it passed along.

Found this pattern at City Craft.  It is modkid sewing patterns by Patty Young, http://www.modkidboutique.com/.  The pattern has great directions and how to pictures, so this post is less of an actual tutorial...and more of a "Look What I Did."  :-)


My mom (known to Courtney and Chelsea as Grammy) and I made this dress together at her house.  We dug thru her cabinets of fabric and found some good Halloween options.  I should mention she has years and years and years worth of saved fabrics.  Options are plentiful.  We used the pumpkins for the top and 2 of the panels of the skirt.


To make the skirt the pattern calls for 6 strips of fabric 9" wide X 14" long.  I decide to use 8 strips cut smaller...if you're a beginner, you might just want to stick to the pattern.

This is the skirt sewed together.  We used 2 types of pumpkin fabrics and two black and white prints.  If you're looking at it wondering how this is going to end up cute...just wait for it.  It all comes together.

We sewed the shoulder seams together.

Next we added the sleeves.  These sleeves are so adorable on little girls.

Bias trim around the neck.  This is left over from the pink dress, but we had enough and it looked great with what we were doing.

Attach the skirt to the top.

Add bias trim to sleeve.

Bias trim for the bottom of the dress.

Make the obi (belt).  The pattern has very good instructions for this.  We didn't have ribbon for the ends so we used fabric.


Dress is ready to send to Heidi Sage to wear for the month of October.

And she looks adorable.  And, yes, we're totally biased...but certain your little sassy britches will look just as cute.

Love my lil' "punkin",

Somewhat Simple

Tuesday, October 11, 2011

Halloween Can Be Pink!

Have you missed us??  Sorry about just falling of the face of the Earth.  We all got a little swept up in our lives for a while.  I'm sure you can relate.  In order to continue with our blog, but not overwhelm ourselves, we've decided this blog is going to be a low volume blog for a while.  We'll post ideas when we have them, and give you time to peruse other sites when we don't.  Just as we can't get 5 posts up a week, we figure you probably can't get 5 projects done in a week.  :-)  

I truly underestimated the amount of work 3 small kids and a house on the market would be.  And Chelsea is finishing up her last semester on her MFA and getting ready for her final show.  And Deborah just started a new job.  So we're busy, no doubt...and looking forward to when the day comes that we have more time to blog!

Now see below, as Deborah has a great post about an adorable dress she made for Miss Heidi Sage.

************************


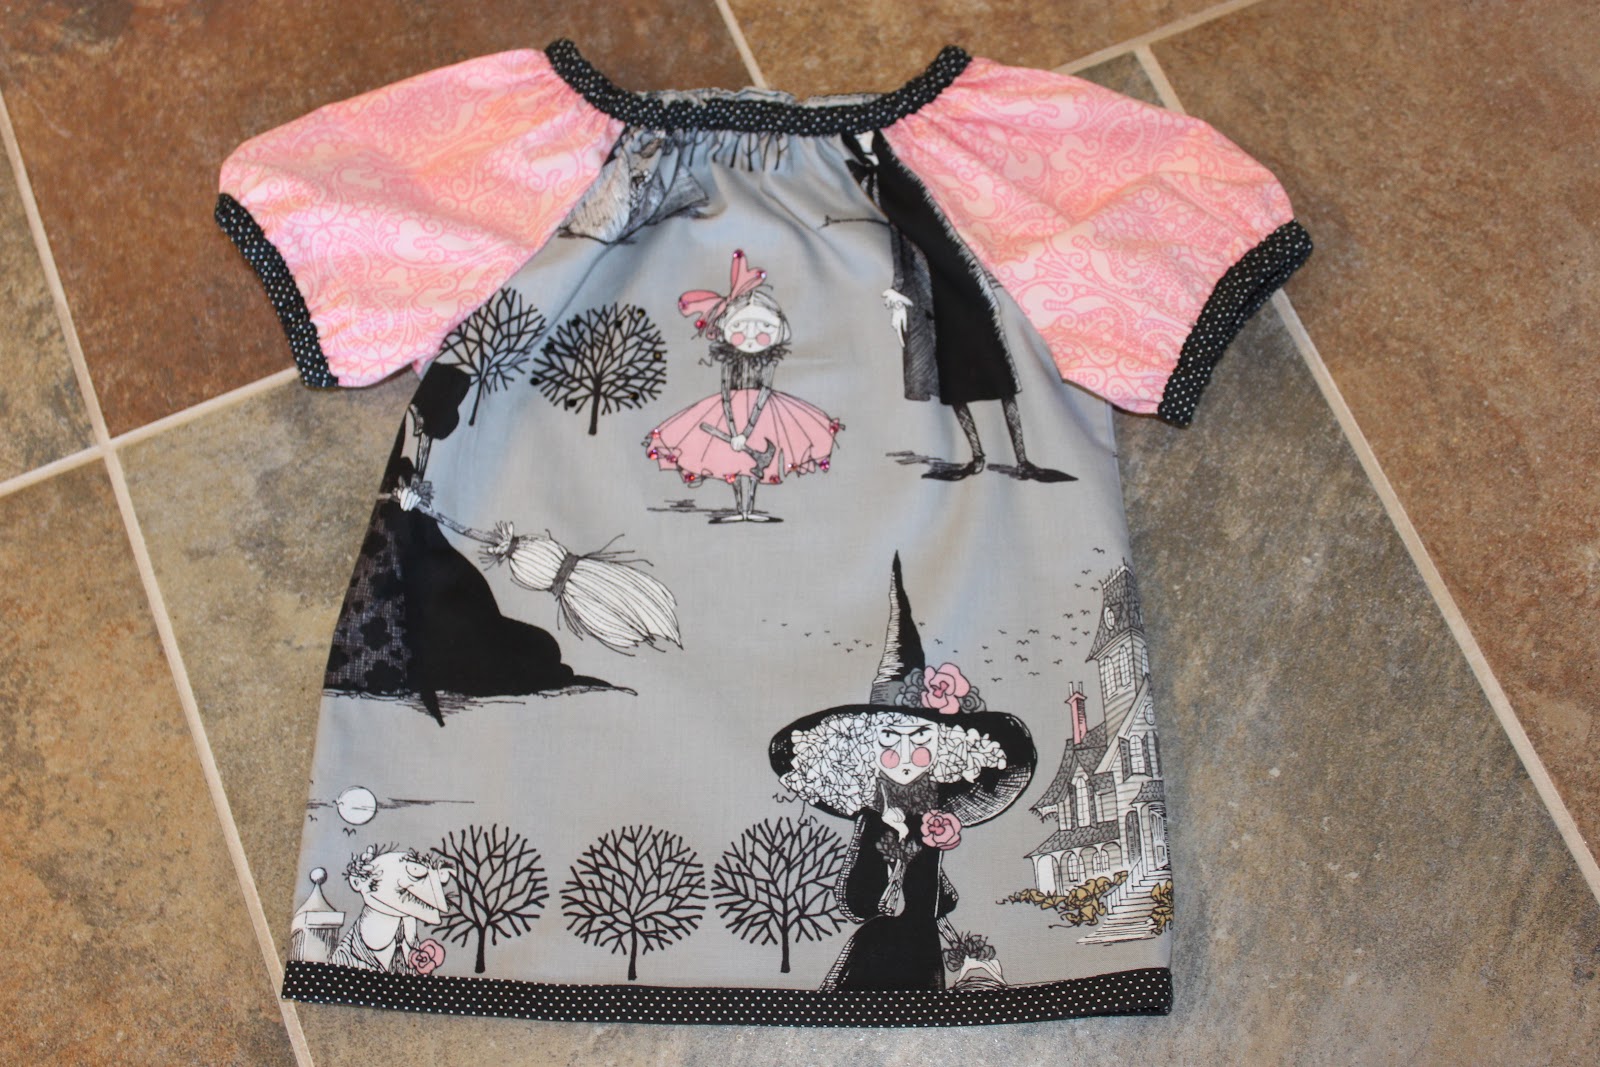
Not sure if you remember, but Heidi Sage had quite the Halloween wardrobe last year.  And last year we went with the typical black/orange/white color combo.  But THIS year, we decided to mix it up a bit and got with pink and black....she is a girl, after all.

Chelsea found this fabric at City Craft and the pattern at Poppy Patterns.  I have used this pattern several times for Heidi Sage.  The pattern has three different sleeves.  For Heidi Sage I used the Bell Sleeve and for Emery (who also got a tiny version of this dress) I used the Short Puffed Sleeve.  My mom also helped me make these dresses.

This is a very simple to dress to make.  Very good for the novoice sewer.  Hint Hint, Courtney.  Chelsea chose three fabrics.  The main part of the dress will be gray, the sleeves are pink and all the bias strips will be black.

We made several different sizes of bias strips.

The front/back dress is one pattern piece.

The sleeve makes the second pattern piece.

Pin the sleeves to the front and back of the dress and sew together.  This pattern comes with well written instructions for construction...no reason for me to go recreating the wheel, so to speak.


Sew the side seams.

This is the bias piece for the sleeve that makes the bell.

Top stitch to sleeve and add the elastic.  The pattern does not show this version.  I added this for decoration.  The pattern gives you measurements for the elastic lengths.

Also added bias to bottom for decoration.

I also added bias to the neck.  The pattern shows how to make a casing by folding the fabric to the inside.


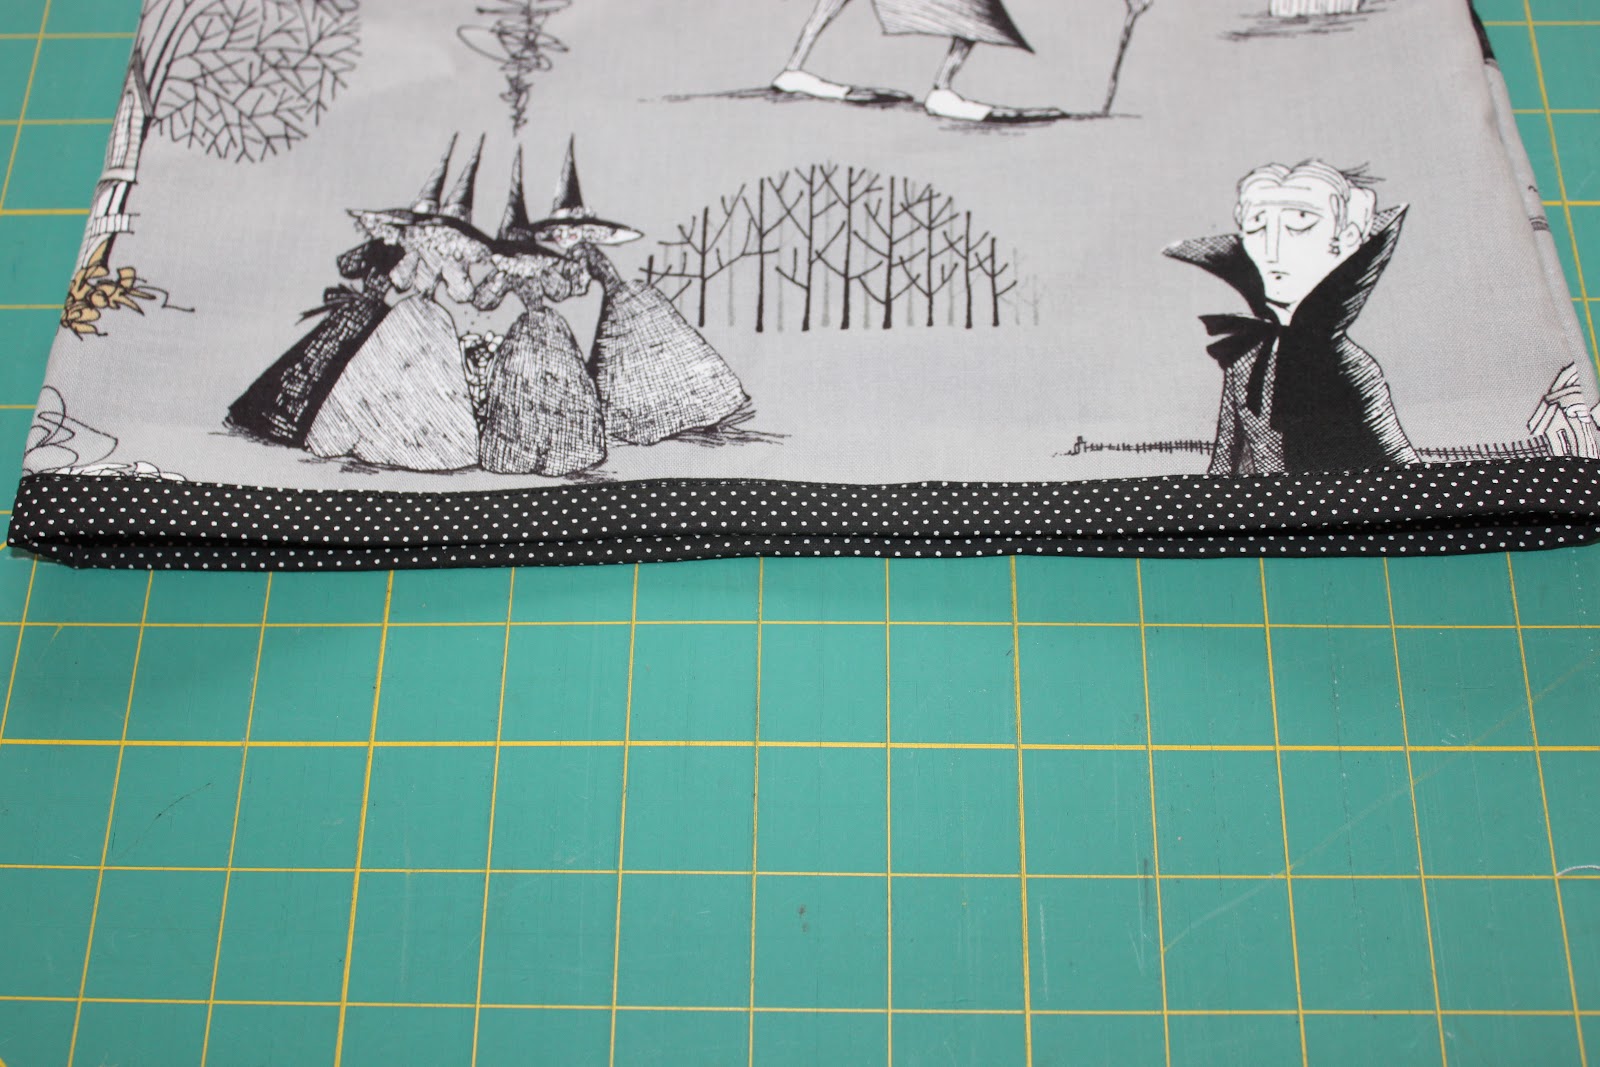
This is a picture of the finished hem.

Added some sparkles to the front of the dress using my Candy Cane.


Ready for Heidi Sage. 

This is little Emery's dress.

Happily Haunting!


Linking to...

Saturday, October 30, 2010

Pumpkin Decorating for Toddlers

So, I realize it's nearly midnight on Halloween Eve and not awesome timing for a Halloween craft...BUT it was a last minute idea in our house, so it might work as a last minute idea in yours!

My husband L-O-V-E-S the idea of traditional pumpkin carving.  Every year we go through the process of picking out pumpkins, drawing out a pattern, and then carving them as we spat curse words under our breath because neither of us has a real talent for it.

However, I opted to completely pass on the whole process this year.  With so little free time on my hands these days, I'm very selective about how I use it.  And since my kids can't really do much with it, it's something I'm happy to pass on.  Hubby still managed to get a couple out on the porch...but I let that be his battle.

This project involves small pumpkins (or large).  NO digging out slimy seeds.  NO carving with knives.  And some potato head pieces you might very well have scattered across your play room floor.  I was looking for a new home for ours when I came up with this idea.  Heidi Sage plays with her potato heads at least once a day...and picks them up...well...umm...never.  So they often end up jabbing the arch of my feet.

Along with your potato head pieces and pumpkins, you'll also need a hammer and a screw that's about the same size as the notches on your potato head pieces.


You simply hammer in the screw where facial features should go.  Just like so...

And it will make perfect little circles.  Just like these...

I placed the pieces in as I hammered the holes to help judge where the next hole should be.

This was my first creation.  It was quickly ripped out for a little girl who was ready to get her craft on!


And then there was a little boy who didn't want to be left out of the fun...


They would make a face, cheer for themselves, rip them out...and start all over!  I love projects that last longer than 5 seconds!


This was the final result.  Heidi Sage created a 3-armed monster with no eyes, but a charming crooked smile.  Clinton created a gorilla.

And I didn't want to be left out either.  So I used the big pieces from the container on my big pumpkin that I opted not to carve.  Best idea I had all day...


Happy "Carving",


Linking to...

The Girl Creative