Showing posts with label Pirate Party. Show all posts

Friday, February 11, 2011

Operation Pirate Party (OPP)

This week my little man turned 4....FOUR!  I still can't believe it.  Last year I was a bit lazy when it came to his birthday, so I decided to make sure to give it 100% this year.  And a pirate party was just the thing.

My house has the open floor plan concept.  So when we throw a party, I like to rearrange all the furniture.  I move the living room furniture into the dining room.  I move the kitchen and dining tables into the living room.  And I move the dining "buffet" into the breakfast area of the kitchen.  It seems to be conducive to large groups...and is just a fun way to change things up.

For our decor, we started with a birthday banner.  Clinton has been learning all his letters and sounds, so he had fun watching me put this together.  He made sure to tell me each letter and it's sound....for several days, as we let the banner hang around for a while.  (Click HERE to see a tutorial for this banner.)

In the living room we had some Pirate Ships for the guests to sit at.  All the kids thought these were so cool.  (Click HERE to see a tutorial for these Pirate Ship tables.)

I Googled "famous pirates", came up with a few names, and Googled those in Google Images.  I printed several of them out and framed them to put around the house.

Our guests got their party favors when they arrived.  In each pirate bag (JoAnn's) we had a bandana to wear as a pirate would, a mardi gras necklace (JoAnn's), a pirate eye patch (JoAnn's), a pirate earring (JoAnn's), a pirate tattoo, and some pirate coins for their pocket.  It took a little while for the kids to warm up, but it wasn't long before the kids started putting on their "costumes".


At the front door we had a "treasure chest" to greet our guests.  This was a wicker basket that was shaped much like a treasure chest.  My Aunt Cathy had it and spray painted it black and added some gold embellishments.  She found a cardboard box that fit inside and sat it into the chest.  She then glued some gold fabric on the top and started filling it with treasures to give it the appearance of overflowing with treasures.  We filled it with mardi gras beads, pirate coins, sea shells, an old net, a wooden parrot, a foam sword, a plastic pirate hook, some eye patches, a picture of a real pirate, and "treasure map" (a sheet of scrapbook paper with the Old World Map print).  She also took about $3 worth of pennies and spray painted them gold.

I did some research about what real pirates ate.  Seeing as they were at sea for prolonged periods, their diets were less than desirable.  They tried to keep as many things on board as they could that had a long shelf life...in those days that included cured meats, crackers (or hard biscuits), and sauerkraut.  I laid these out for the kids to try....they didn't.  It smelled so bad, I had to light candles and cover up the salami with plastic wrap.  I did notice a few of the adults snacking on it.  I tried it...not terrible, not something I would actually serve.

I sat out a pirate puzzle for the kids to play.

And I laid out a pirate memory game for the kids to play.

And what pirate party would be complete without a pirate cake?  This was time consuming to make, but the kids and guests loved it...and appreciated the effort.  (Click HERE to see the cake tutorial.)


For a simpler pirate sweet treat, you could also make the cupcakes we sent to school for his birthday.  (Click HERE to see the tutorial for those.)

And here's my happy pirate wearing his pirate shirt.  Deborah had made him a full pirate costume, but he was too shy to wear it.  We had bought this shirt for his school party, so we got it out and let him wear it for his real party.

Arrrghed out,

Linking to...

OPP: Birthday Banner Tutorial

To make this banner you will need:
  • Colored card stock (as many pieces as you have letters, I had 20)
  • 12x12 Scrabpbook Paper (half as many pieces as you have letters)
  • Glue (I used ModPodge)
  • Lighter
  • Yarn, string, or ribbon

I first found a font I liked on my computer.  I typed out my banner, "HAPPY BIRTHDAY CLINTON" making my font big enough to have only one letter per page.

I pulled 20 pieces of my colored card stock, and put the paper in the order I wanted it.

I then printed out my banner.


Using a heavy book as my "letter protector", I began tearing around each letter.  I didn't have to have my tears straight, I used the book just to keep from tearing into or through a letter.


I then took my scrapbook paper and it in half lengthwise.

I then used my lighter to carefully burn around the edges of each letter.  While it's a little smokey, it's better to do this indoors.  When outside your paper will quickly catch fire and burn up.  Make sure to keep your lighter on the side of the paper you can see.  I burned my fingers a couple of times trying to move my lighter around to the back side of the paper.  Once you've burned each letter, make sure to set it on a safe surface away from other pieces of paper until it is completely cooled off.

Nest, I laid out the letters on the scrapbook paper and glued them down.

I used some yarn and strung it in my window tying it onto the blinds.  I folded back 1" at the top of each paper and hung it on the yarn.  You could use staples to stabilize these, if needed.


OPP: Pirate Ship Cake Tutorial

To make this cake you will need:
  • 3 - 9"x13" cakes, any flavor is fine
  • Brown frosting, I used 3 batches of Wilton Chocolate Buttercream Icing 
  • 2 tubes of Wilton Black Decorating Icing, with separately sold tips
  • 1 - 3' x 1/4" dowel rod
  • scrap of white fabric
  • small skull and cross bones iron on
  • Pirate toppers (I found these toys to use)
I didn't have a cake plate big enough for my cake, but wanted it elevated.  So, I found a box top from a package my mom had sent that week.  I wrapped it in foil.


To make sure it was strong and stable and wouldn't sink, I put a couple of juice glasses underneath.

I took my three cakes and made sure they were more or less flat by cutting any excessive curvature off of the top.

I then stacked my cakes adding 1/2 - 3/4 C. of icing between each layer.

To carve out the cake I began by cutting a section of the top layer on one end...
...and flipping it around to stack on the other end.  I did this to create the high back end of the ship.  Because I would not be carving on this end, I wanted the curves to match up on the corners.

In order to create an elevated level on the front of my ship, I cut another section of my top layer and moved it forward.  I then cut off any excess making the two top layers on the back the same size.

Using a paper stencil I made, I cut the front of the ship.


I don't have a fancy icing piper (if that's what it's even called), so I relied on my handy dandy plastic sandwich bags.  I just filled it with icing, sealed the top and cut the tip off of one bottom corner.

I then opted to pipe the brown icing onto the entirety of the cake, excluding the tops of the front and back (I later filled these in with black just for some added depth/contrast).

Using my spatula knife continually dipped in warm water, I began smoothing out the piped icing.  By piping it on first and then smoothing, there is a lot less trouble with crumbs and tearing cake.  (And a lot less screaming and swearing!)


I then used some black decorating icing for some detail work.  Using the tip that is attached in this picture, I filled in the floors on the front and back sections of the boat.  I later used the top tip to "outline" the boat and add a few windows, and used the star tip for a few decorative medallion looking things.

I made a sail using a thin 3' dowel rod.  I cut it to some guesstimated lengths, glued the fabric on with a hot glue gun, ironed on the applique, and then glued all the rods together.

I added my pirate figures and some flags leftover from a cupcake topper package.


OPP: Pirate Ship Table Tutorial

For this project I used the following supplies for each table:
  • 1 dining table
  • 1 brown table cloth
  • 1 patio umbrella stand
  • 1 6' x 1 1/2" wooden rod (found at Lowe's) (MAKE SURE YOUR CEILINGS ARE TALL ENOUGH TO ACCOMMODATE YOUR TABLE AND A 6' POLE, mine are 14' but if yours are lower you may need to adjust the height of your sails)
  • A small table leg (mine was about 3 1/2") (found at Lowe's)
  • 2 3' x 1/2" dowel rods (found at JoAnn's) 
  • Pack of 4 wooden balls with 1/2" hole (see below for picture of package) (found at JoAnn's)
  • An old sheet (a 3' x 4' section)
  • Scissors (preferably fabric scissors)
  • A skull and crossbones iron on applique
  • An iron
  • White thread and sewing machine (could also be done with a hot glue gun or fabric glue)
  • Wood screws (see below for picture of packaging with exact details)
  • A drill and drill bits
While the list may seem lengthy, these were actually quite easy to make.  I started by laying out my old white sheet.

I cut it to 3' wide x 4' long.  I made sure to utilize the hem at top of the sheet.  I made this the top of my sail, meaning 1 casing was already made for me.

Next, I asked my helper if he was excited about his party.  He was.  So we continued.

I then ironed my sail in its entirety.  I also ironed the hems for the sides of the sail.  There is no exact measurement for this, just do what looks right.


Ironing it in place makes sewing much easier.  If you don't have a sewing machine, you could either leave it pressed as is or lay it down with some fabric glue.


This is me sewing on my machine.  I show this picture just for those who don't believe that I can use a sewing machine.

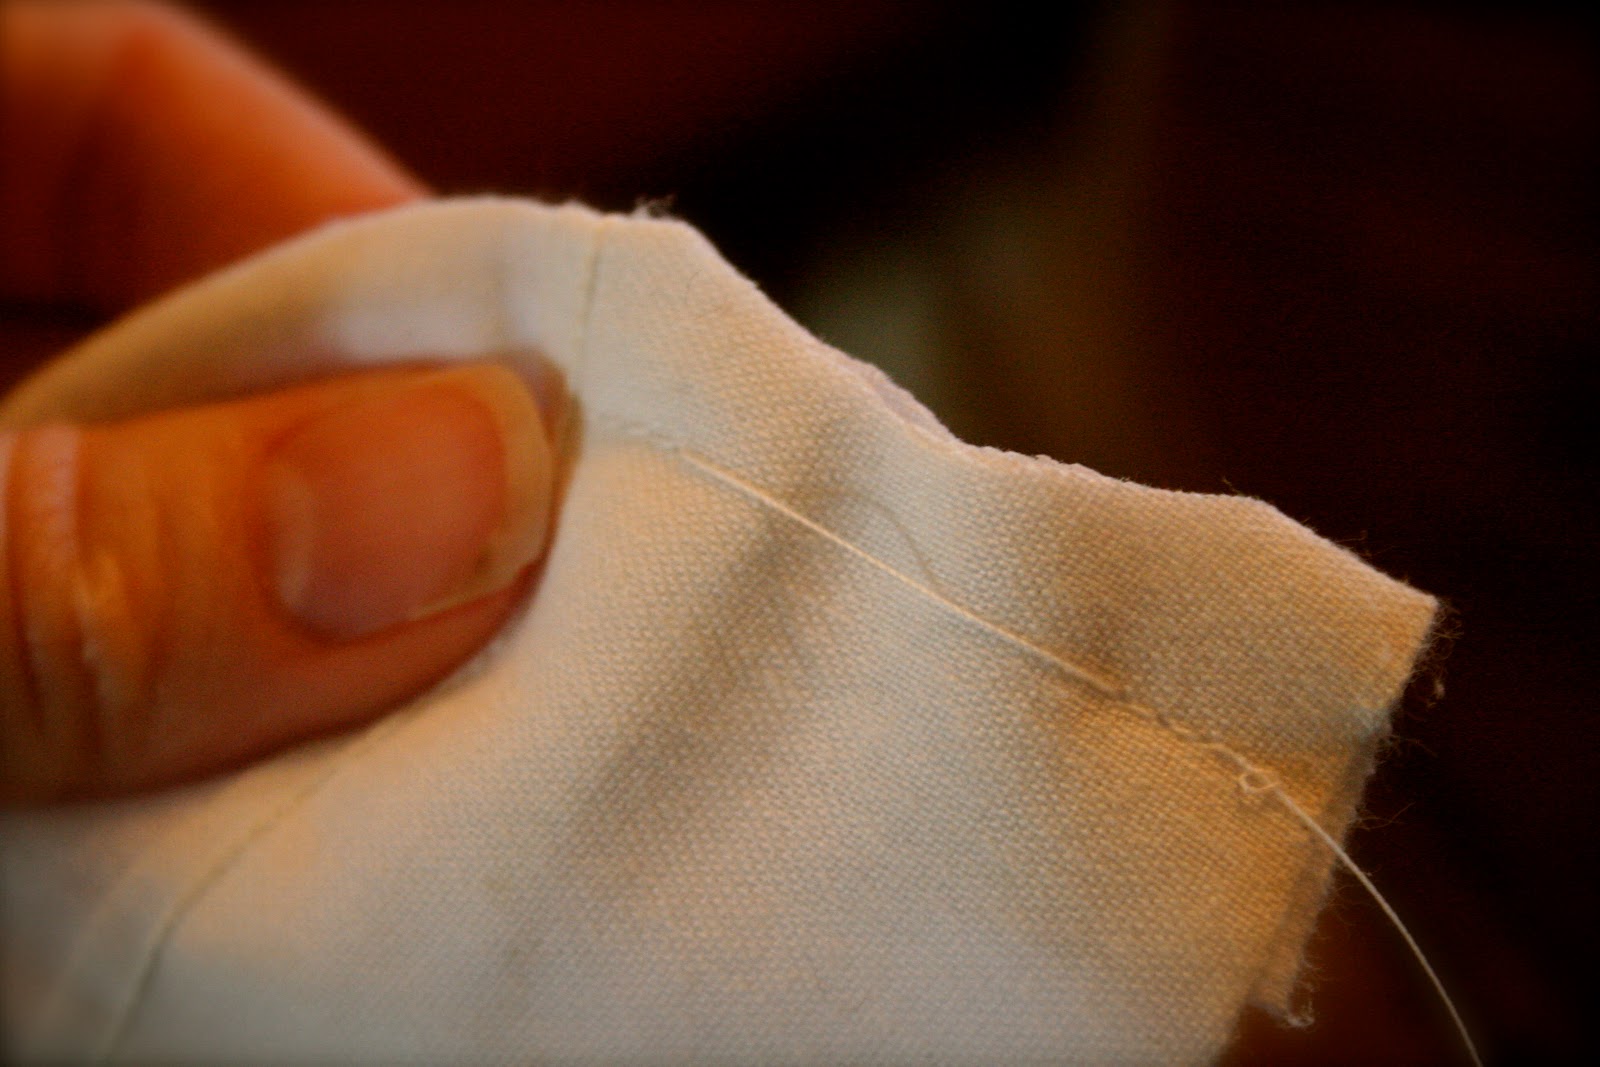
When sewing up the side hems you will end up sewing the top casing closed.  I stopped my machine, pulled the fabric through a bit and then continued sewing the last few stitches to the top.  This way I just had to cut a small hole in the fabric on the ends and didn't have to worry about ripping stitches.

After I had ironed and sewed both side hems, I did the same for the bottom, creating a casing for the bottom dowel rod.  While I don't have an exact measurement for it, just make sure it's big enough for the dowel rod.  It's better for the casing to be too big than too small.

Next, I ironed on my applique.  Make sure to follow the directions on your applique.  If it asks for a hard surface, make sure you have a hard surface.  I laid a towel on my ceramic bathroom floor and ironed it there.

These are my 6' rods.

These are my table legs.  Those table legs have screws already built into them where the white tag is.

I found a drill bit that matched the size of the built in screw in the table leg and used it to drill a hole in the end of my 6' rod.

I then screwed the table leg into it.

I then put the rod in the patio umbrella stand.  I used one off of my patio, then borrowed another from a neighbor.

These are my wood screws.  I found a drill bit that looked to be about the same size as these.  You don't want it to be bigger than your screws, so err on the side of too small if you're unsure.

I took my 3' dowel rods and marked the center lengthwise.  I then pre drilled holes all the way through.

Using the same drill bit, I also pre drilled a hole near the top of my 6' rod.  This time only going about 3/4 of the way in...not all the way through.

Next I took my sail, marked the center point across the top and the bottom of the sail.  I cut a slit at each mark and then slid a 3' dowel rod through the top casing and one through the bottom casing.

Using a screwdriver, I ran a screw through the top dowel rod until it was peeking out the other side.  I matched it up with the pre drilled hole in the top of the 6' rod and then screwed it the rest of the way in.  I didn't want it to come through the other side, so I didn't screw it quite all the way in.

Once the top dowel rod was in place, I marked where I wanted the bottom one to be and repeated the same steps for pre drilling the hole into the 6' rod and then screwing them together.

Once everything was in place I used some super glue to glue on the wood balls to the end of the 3' dowel rods.


To put it all together, I placed a brown table cloth on each table and centered my sail on each table.  For decoration, I added some small wooded treasure chests (found at JoAnn's for about $1 each) and filled them with chocolate.

For place mats I used sheets of 12x12 scrap book paper that had a print of an old world map.