Showing posts with label Onesies. Show all posts

Tuesday, March 15, 2011

Baby Shower Gifts for Jill

My friend Jill is getting ready to have baby girl #2.   She already has Miss A, who's about to turn 3 and in just a few short weeks she'll be welcoming baby girl.  My mom was in town visiting me on the weekend of the baby shower, so we put together some cute gifts for baby girl and a little surprise for Miss A.

I made baby girl some onesies that went with knit pants and made matching hairbows.

Daisy knit applique onesie with cute hat and bow.  I made the bow with an alligator clip so that it can also be worn without the hat. Check out a previous tutorial to learn the process of knit applique.  You can attach the applique to the shirt by machine stitching as the tutorial shows, or you can attach it by handsewing it with embroidery floss as I did on the daisy.

Reverse appliqe heart applique ones with leopard bow.  Check out a previous tutorial to learn about reverse applique.

Bow onesie and matching hairbow.  Check out a previous tutorial to learn how to make the bow onesie.

Knit applique flower onesie with crocheted lace accent.  To learn how to make the adorable matching hairbows, visit Deborah's hairbow tutorial.

Deborah made this precious bib with baby girl's first initial.

Deborah also made these adorable little matching dresses for the girls to wear this summer.  They were a big hit at the baby shower!

Staying busy,

Linking to...
Make it Yours @ My Backyard Eden

Wednesday, March 9, 2011

Lady Bug Onesie and Flower Onesie

You'll probably be shocked to find out that I actually made a girl outfit (or four) that are NOT for Heidi Sage.  Gasp...I know!  These little numbers were for my newest great-nieces, Canyon and Emery.  

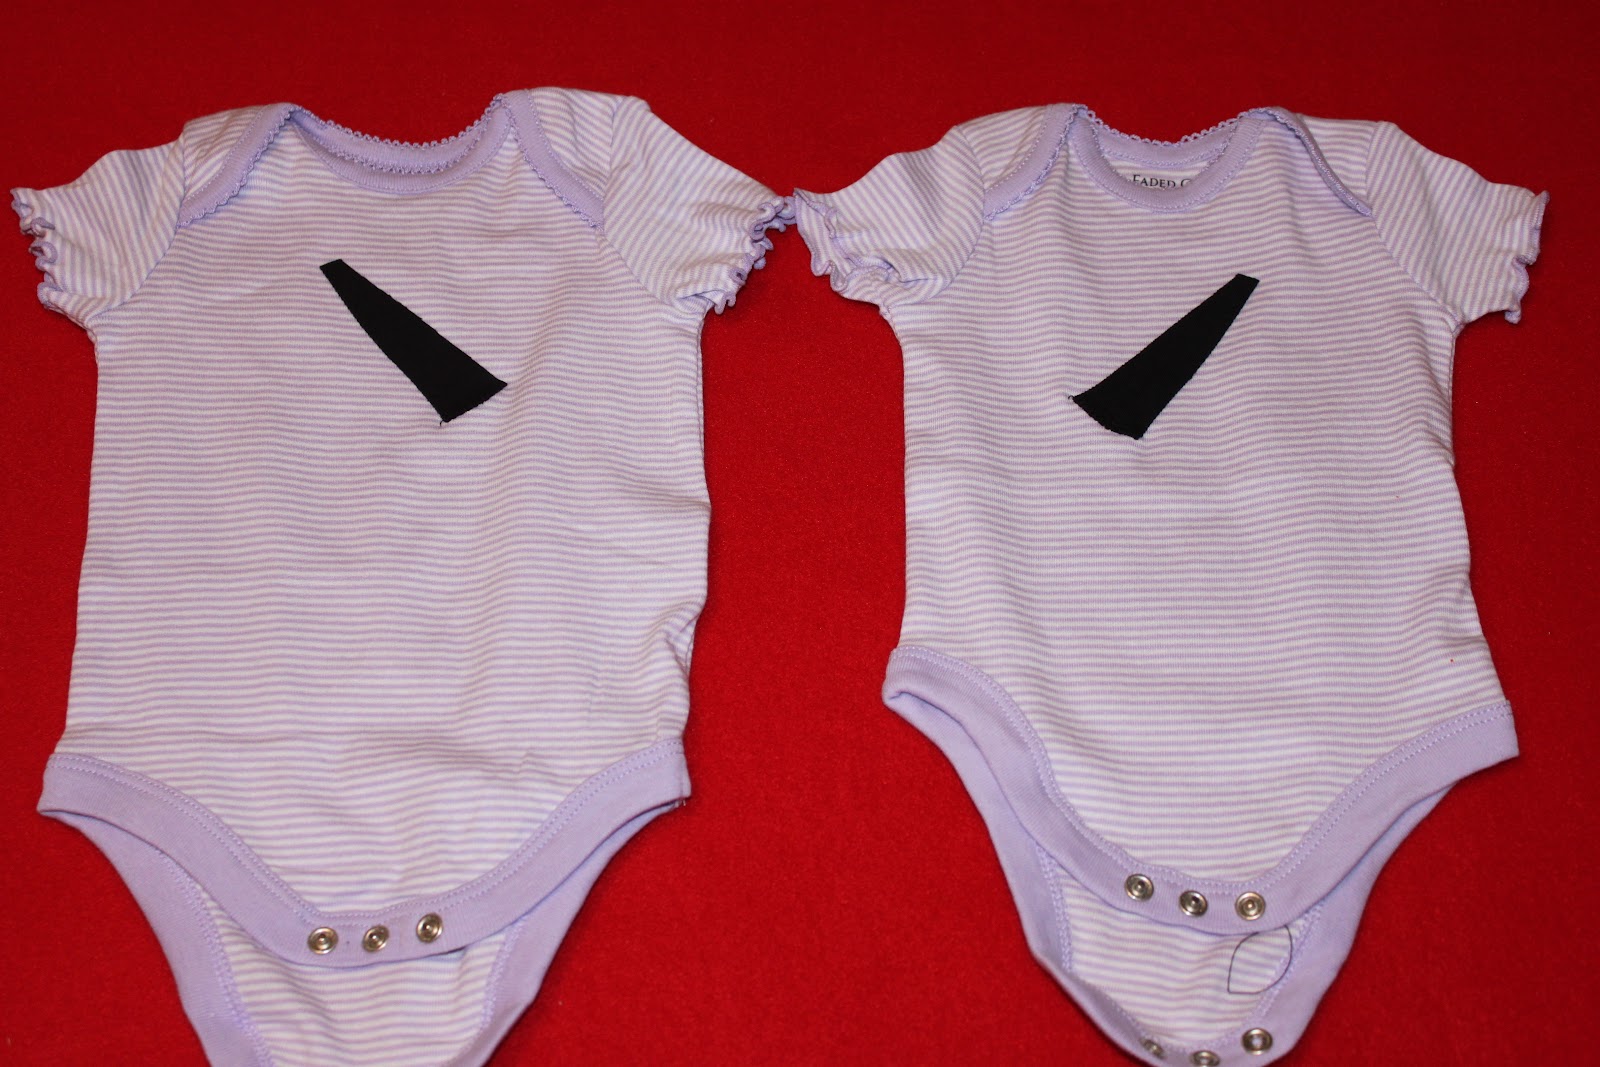
I started with these onesies I found at Wal-mart.  On the pink onesies I put flowers and on the purple onesies I used a ladybug.

To make the ladybug it takes alot of circles and ovals.  I traced my circles and ovals.

Cut out my pieces.

I started with the center of the body first.  Ironed it to the onesies and stitched it down.

Ironed on all the dots and stitched them on by hand with embroidery thread.

Ironed the wings down and stitched around them.

Then I added the head.

Stitched on some antennas with embroidery thread.  Added some pants.


Next I did the pink onesies.  I gathered my supplies; pattern, knit fabric, wonder under and thread.

Traced my pattern and cut out my pieces.

Next I ironed on the leaf and stitched around the outside.

Ironed on the center of the flower and stitched it down before ironing the flower to the onesies.  After ironing the flower down it stitched around the flower.

Bought some matching pants.

Hope Heidi Sage isn't jealous,

Linking to...

Wednesday, March 2, 2011

Celebrating Milestones

We recently reached a milestone here at DHS.  We now have 100 GFC Followers (this is separate from FaceBook followers).  To celebrate we decided we'd give something away!!!

In case you missed our last post, we shared with you how uber excited Rex was to be wearing his Bull onesie.  We thought to ourselves, "I bet someone else would like to have this to get their little one this excited."  :-)

So, we're giving away a Bull Onesie, size 12 mo.  Maybe you have a son, grandson, friend's son, or know a little boy (or girl) who would look way too cute in this.  (If a girl wins, we might just have to tack a little bow on the "cow's" head.)

Here are the rules.  You get ONE entry.  To enter, leave ONE comment telling us anything you think we need to know.  We will draw ONE winner on Sunday evening, March 6.  


**THIS GIVEAWAY IS NOW CLOSED**

That's No Bull (well, except the one we're giving away),

Monday, February 28, 2011

Boy Inspired Onesies

When you go shopping for onesies do you ever feel like your seeing the same puppy dog and sports-themed gear in every. single. store?  It's not too hard to customize your own onesies for your little guy.  Or, of course, to show up to the next baby shower with a gift that NO ONE else will have.

Here's a few boy onesies I've been working on lately for my newest grandson, Rex, and my newest great nephew, Tyson.

Items needed:
Pattern (I used McCalls 3171)
Knit fabric (in colors of your liking)
Wonder under
Thread (to coordinate with your fabric)
Onesies*

Trace your patterns. Cut your pieces out and peel off the paper from the backside.  Be sure when peeling that the sticky part of the wonder under stays attached to the fabric.

I ironed the back fin on first and stitched it down.

Next I ironed on the body and stitched it down.

Then ironed on the legs and stitched them to the onesies.

Added a wiggly eye and some pants. 

Items Needed for Bull & Cement Truck Onesies:
Onesie*
Knit (in desired colors)
Wonder Under
Pattern (pieced mine together from an online clip art)
Thread (to coordinate with your fabric)


Trace pattern.

Cut out pieces.  Iron the face, eyes, mouth and nostrils together.  Stitch around the nostrils with pink and around the eyes and with brown.

Iron horns on onsies and stitch around them.

Iron face to onesie and stitch around the face and nose with brown.

Add some wiggly eyes and some matching pants.

And here's my little Rex sporting his new Bull Onesie at the zoo.  Doesn't he looked thrilled???


As mentioned above for the cement truck onesie you need the same materials and follow the pictures for the steps.


*All the onesies were purchased at Wal-mart.

**UPDATED:  Looks like we'll be GIVING ONE AWAY.**

Happy Appliqueing, 

Linking to...
Today's Creative Blog